DragStuff Home > Article Index >
Eastwood Powder Coating Equipment Review
By Bruce Johnson
Powder coating. The term conjures up thoughts of either an attractive and tough-as-nails "paint", or a difficult-to-apply, high-tech, electro-coating technique that can only be performed with large and expensive equipment applying a powdery coat of paint. Or maybe both. But what is powder coating?
Powder coating is a method of applying a durable, protective and attractive coat to a variety of surfaces. An electrically-charged powder is sprayed onto a grounded object, after which the item is cured in an oven until the powder "flows out", resulting in a smooth, tough, chemical-resistant coating that lasts up to ten times longer than ordinary paint.
That’s all well and good, but who can afford to pay an industrial powder coating company to shoot a couple brackets here and there for a hot rod or some gear for the home shop?
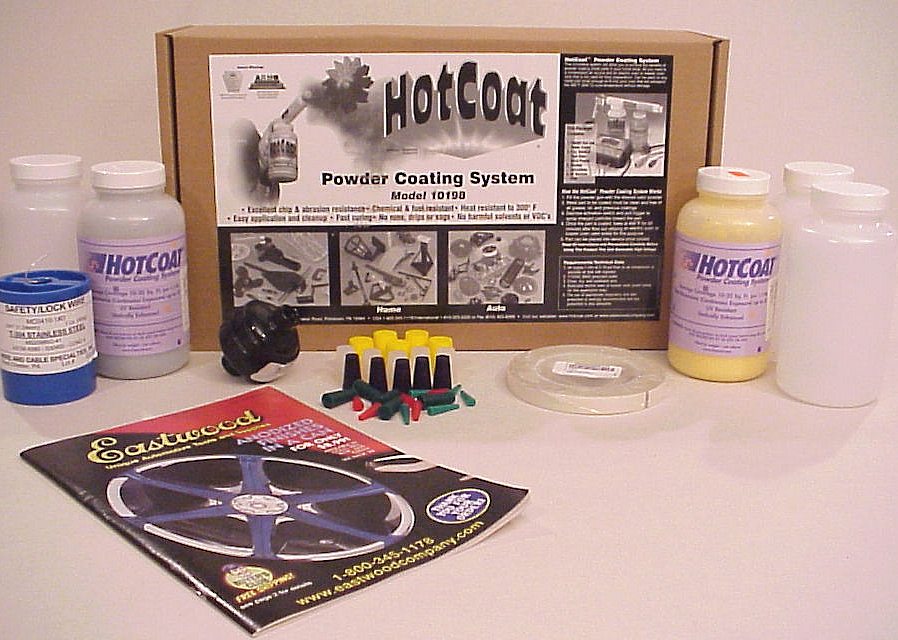
Enter Eastwood's HotCoat Gear
I had been hearing about The Eastwood Company’s Hot Coat powder coating system for some time. The idea held great promise: powder coating at home by the hobbyist without the need for
outrageously-expensive equipment. According to their advertising, all I’d need is a dedicated electric oven, low-pressure (5-10 psi) compressed air, and their Hot Coat system. Of course, some expected safety equipment was needed such as goggles, dust filter, and charcoal-activated respirator - the same things that should be used even during the simplest of spray-can painting jobs.
Eastwood sells two different kit levels, Basic and Deluxe. The basic kit consists of the powder "gun", air filter, power controller, ˝-pound of gloss-black powder, and a powder cup. As its name implies it’s got the basics. I, however, ordered the cost-effective Deluxe kit which starts with the Basic kit and adds a few niceties such as high-temperature fiberglass tape (to cover bolt threads), a nice assortment of silicone plugs (for protecting tapped holes), stainless steel wire, an additional air filter, three extra powder cups, and two additional standard powder colors of my choosing.
Speaking of Coating Colors...
Ahhh, the colors! Yet another advantage of powder coating - so many colors! The Eastwood Company sells dozens and dozens of different colors and finishes for painting from the basics, like black and red, to wrinkle finishes, metal-looking colors (cast iron, machine gray, etc.), textures, iridescent, high-temp coatings...the list goes on. Even Reflective Chrome! Get this, they have 14 different shades and finishes of green alone.Most powders are available in quantities ranging from a half-pound to fifty pounds.
Okay, Down to Business
Upon receiving the package from Eastwood I found everything just as I had ordered it, all packaged well and in excellent condition. I then took a few minutes to review the
instructions. After getting through the requisite safety precautions and becoming familiar with the procedure, I looked around for a few items to subject to my first attempt at powder coating. The Hot Coat paint process only requires 5-10 psi to function, with 8 psi being ideal, so just about any tank-style air compressor will work. Even a $25 portable air tank will do the job quite nicely.
The system consists of only two major parts: the gun and the control unit. The gun controls the flow of the powder by controlling the airflow from the compressor with the trigger switch. The gun also receives the powder cup. The other major component is the electronic control box, which has leads for 110VAC, the ground clip, the activation switch, and the power wire to the gun. The activation switch is what allows current to be sent to the gun which electrically charges the particles.
As I read through the instructions, I wondered how I was going to support the coated parts while they were curing in the oven. Hang them from wire, sure, but from what do I hang the wire? A quick look inside the electric oven answered my question. There is a complex bracket that supports the upper heating element - perfect for looping the stainless steel wire around to support the hanging parts, and I used an old (clean) cookie sheet to set the larger parts on for the curing process.
The Powder Coating Process
At first I was a bit daunted by the procedure, but it is actually rather simple to set up:
- Preheat the oven to 450 degrees Fahrenheit
- Clean and dry the parts as you would for painting
- Determine how to support the parts, generally with a stainless steel wire
- Carefully spoon your powder-of-choice into the gun cup until it’s 1" to 2" deep, then install cup on gun
- Connect the air supply (set at 8 psi) to the gun
- Power up the unit with 110VAC
- Clip the ground wire to the item to be coated or to wire from which it’s hanging
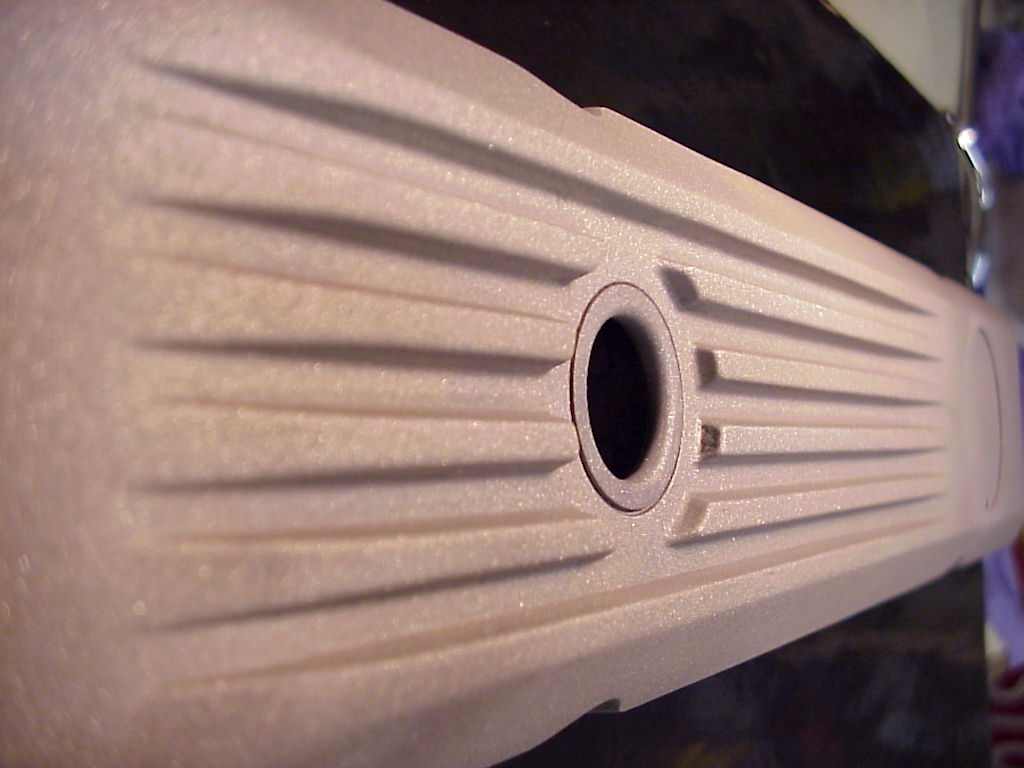
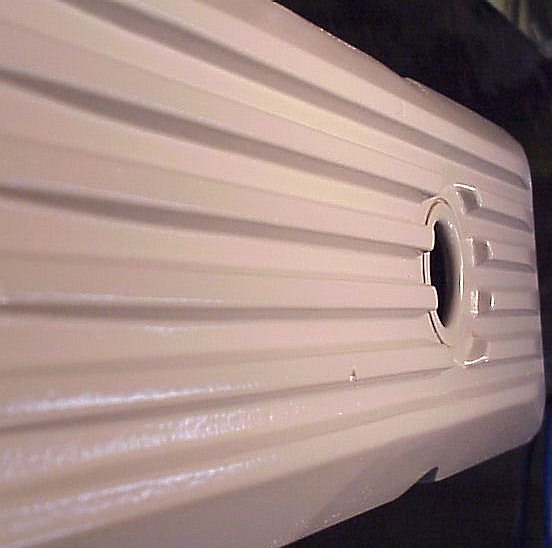
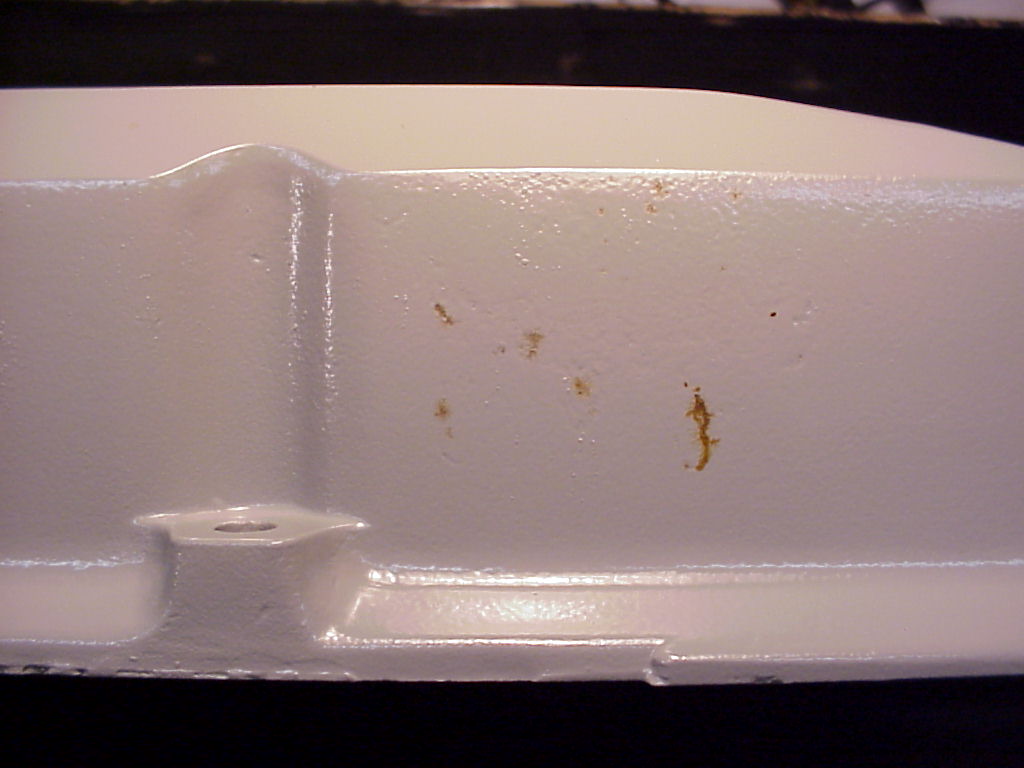
That’s all there is for the setup. When you’re ready, depress the activation switch while triggering the gun and watch the powder flow. You do need to coat the entire part in during this procedure. Do inside corners first, as they’re the most difficult to coat. Don’t get it too heavy, either, or you can get runs just like with regular paint. You can see an example of a slight run on the aluminum bracket I coated. Once you think the part is thoroughly coated, verify it by examining it under high-intensity light. If it passes, carefully place it in the oven without bumping the part to prevent the powder from falling off. Bake the item at 450 degrees until the powder flows out (usually about five minutes), then cure it at 400 degrees for 20 minutes.
That’s it! After the curing process is complete and you turn off the oven, you can either crack the oven door and let the part
cool as the oven cools, or carefully remove the item from the oven and hang it somewhere to cool. Once it’s cool, the item can be returned to service.
Painting Results
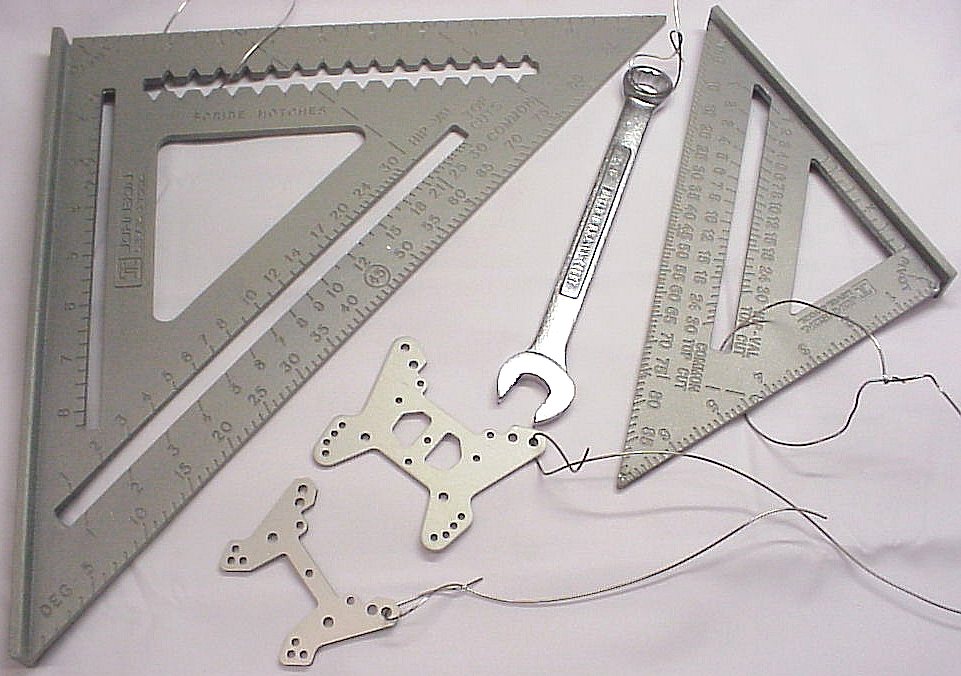
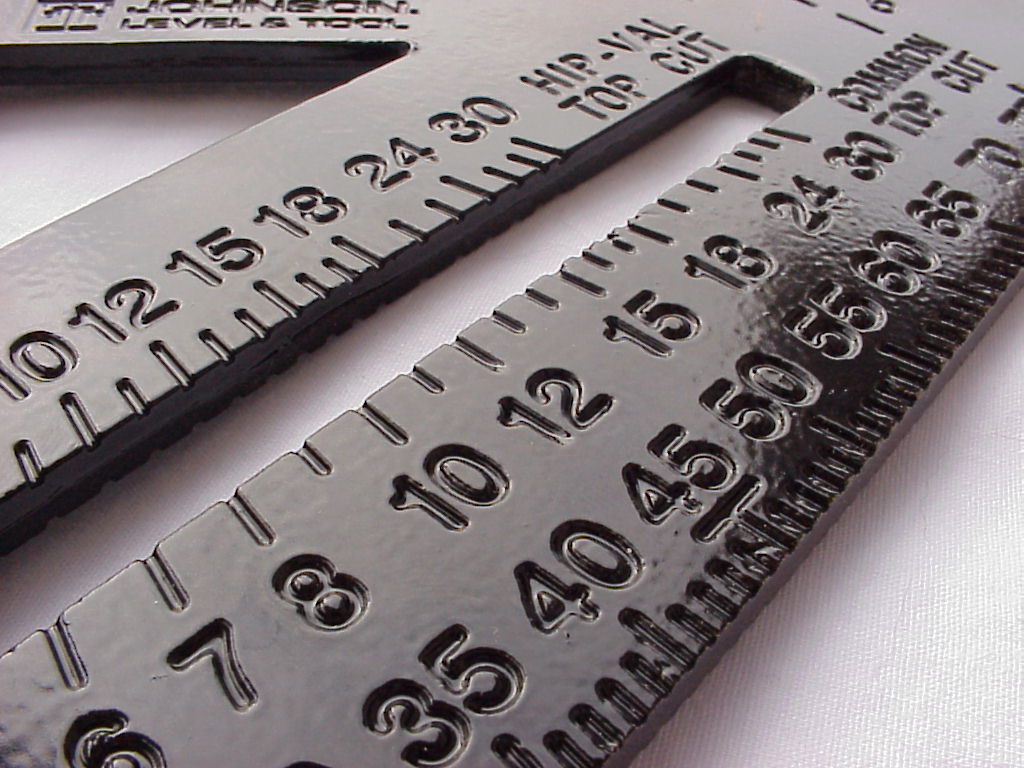
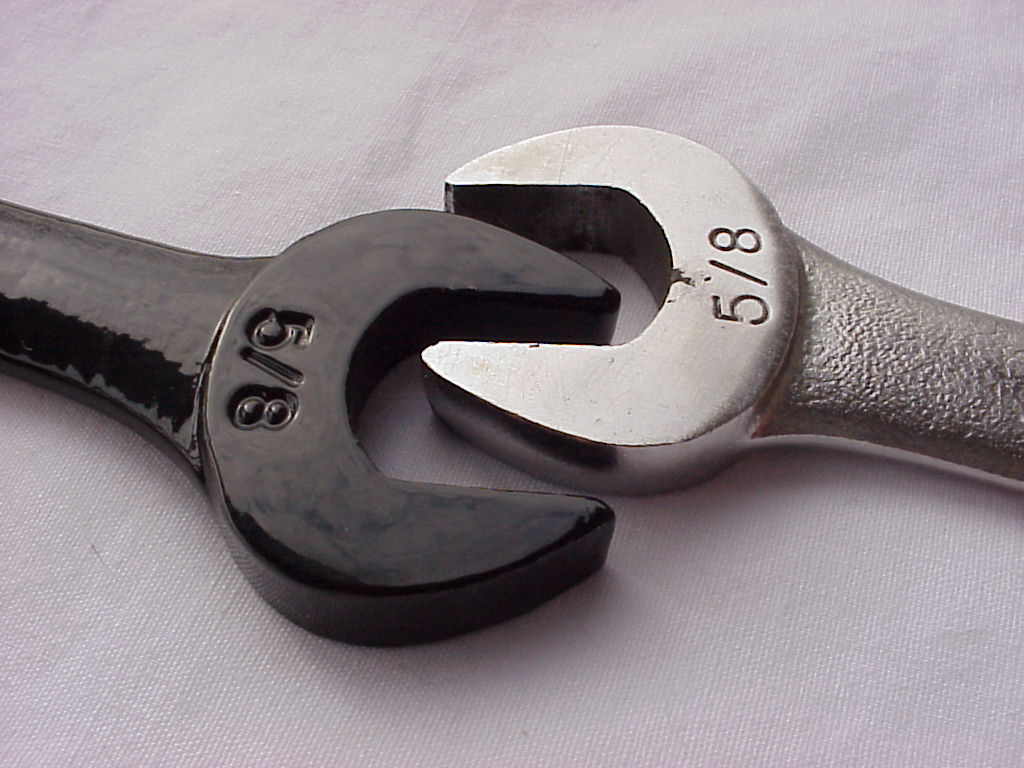
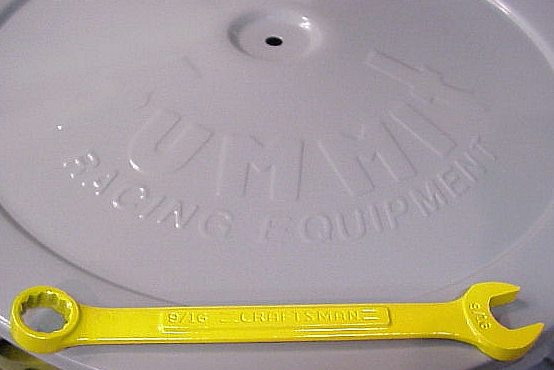
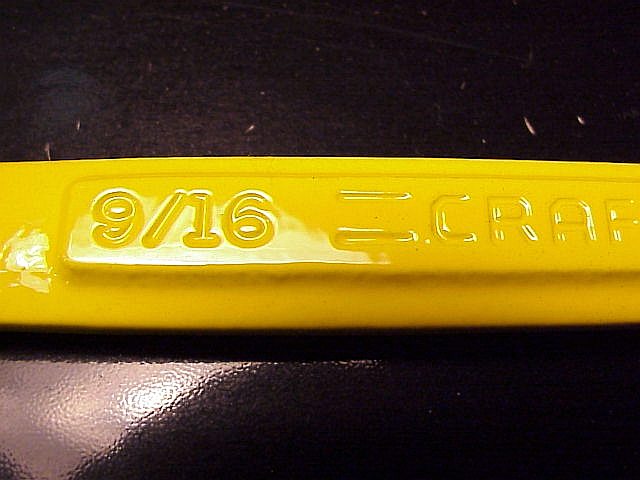
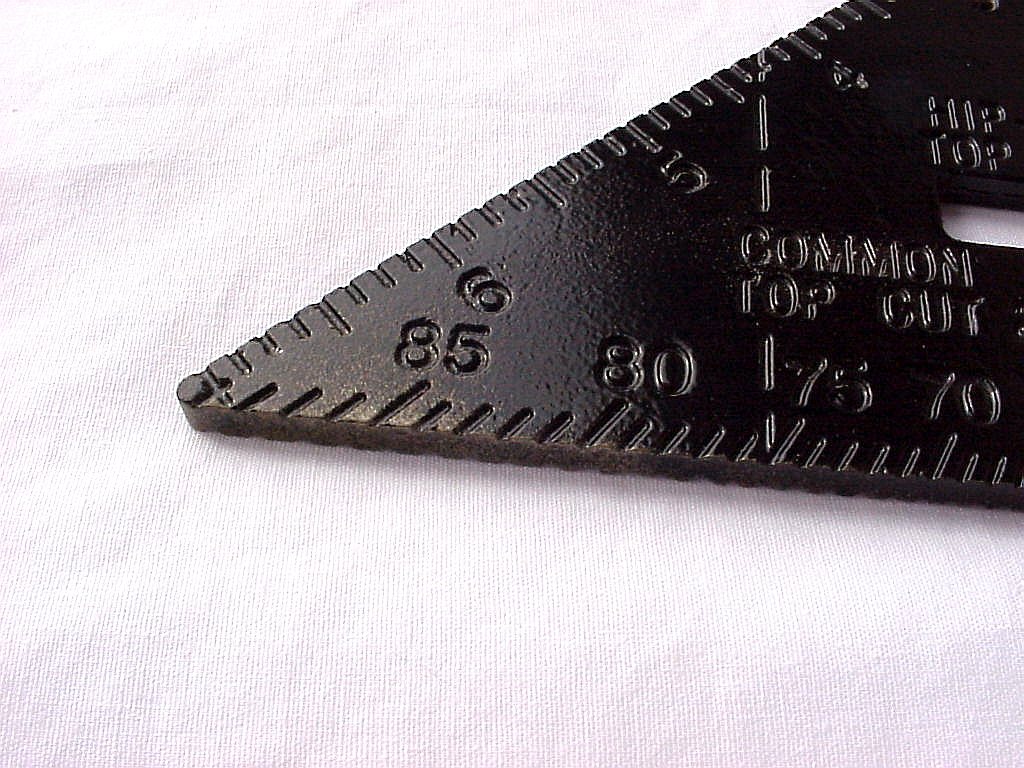
As you can see in the accompanying photos the results are impressive, especially when you take
into account these were my first few attempts. The parts aren’t all perfect, mind you, because as with any coating process, whether it is paint, powder coating, plating, etc., surface preparation is key. After shooting the powder the first time I found a couple areas on the rafter squares where they weren’t coated completely. A little more time spent cleaning would have taken care of that. Despite the voids, I decided that since there were test pieces anyway, I'd cure them as they were to see what the final finish looked like with a known flaw. No surprise, where there was no powder there’s no final finish. If I had decided to redo that part, all I'd have had to do is just blow the powder off with compressed air and reshoot it.
Try that with fresh paint!
I would like to take a moment to mention the flexibility of the coating. In order to coat some bolt heads I punched them through a couple layers of aluminum foil, coated the assembly, and cured it. After removing the newly-coated bolt heads from the foil I decided to test the flexibility of the coating. I folded the foil completely in half, creased the fold, flattened the foil back out, and there was absolutely no cracking, chipping, or peeling. Absolutely amazing. Even after folding it back and forth a few more times there was no damage to the finish.
After my flexibility test, I subjected a recently-coated bolt to 40 lb-ft of torque with a 6-point socket. The finish on the bolt head was completely unmarred.
Why should you powder coat?
Do you really need to ask?
- It's up to 10 times more durable than paint
- It's quick and easy to apply once you're familiar with the process
- There is a wide variety of finishes available
- The powder provides great coverage - a 1/2 pound can lasts for a long time
- Usually only one coat of powder is necessary, and there's no primer
- Coated parts can generally be returned to service within one hour
- The powdery paint goes on dry, so errors are easily fixed and there's no sticky paint floating around
- Clean-up is a five-minute job and uses only compressed air, no chemicals at all
- Unused powder can be returned to the original can and saved for later use
- There's no mixing of hardeners, catalysts, etc.
- Amazing flexibility
- It's actually fun to apply!
Equipment Review Summary
There are times when a spray-paint job will suffice, but for me, the benefits of Eastwood's Hot Coat Powder Coating system are so significant that I don't expect I'll be shaking up a rattle can anytime soon.